“Tell Me And I Forget. Teach Me And I May Remember. Involve Me And I Learn.” –Benjamin Franklin
The Why:
I’ll never forget staring at a group of language students wondering why, after weeks of targeting our Thanksgiving themed vocabulary words, they could not identify the word “pilgrim.” We read books about pilgrims, sang songs about pilgrims, and even had our own pretend pilgrim feast. But each time I held up the picture card containing that little guy with the buckles on his shoes, I heard crickets. So I set out to find a toy pilgrim and my fall sensory box came to life.
The How:
For each of my language units, I incorporate a sensory box that can be easily adapted across grade levels and types of special education classrooms. Follow these steps to make your own sensory boxes and pull vocabulary off of the paper for your students.
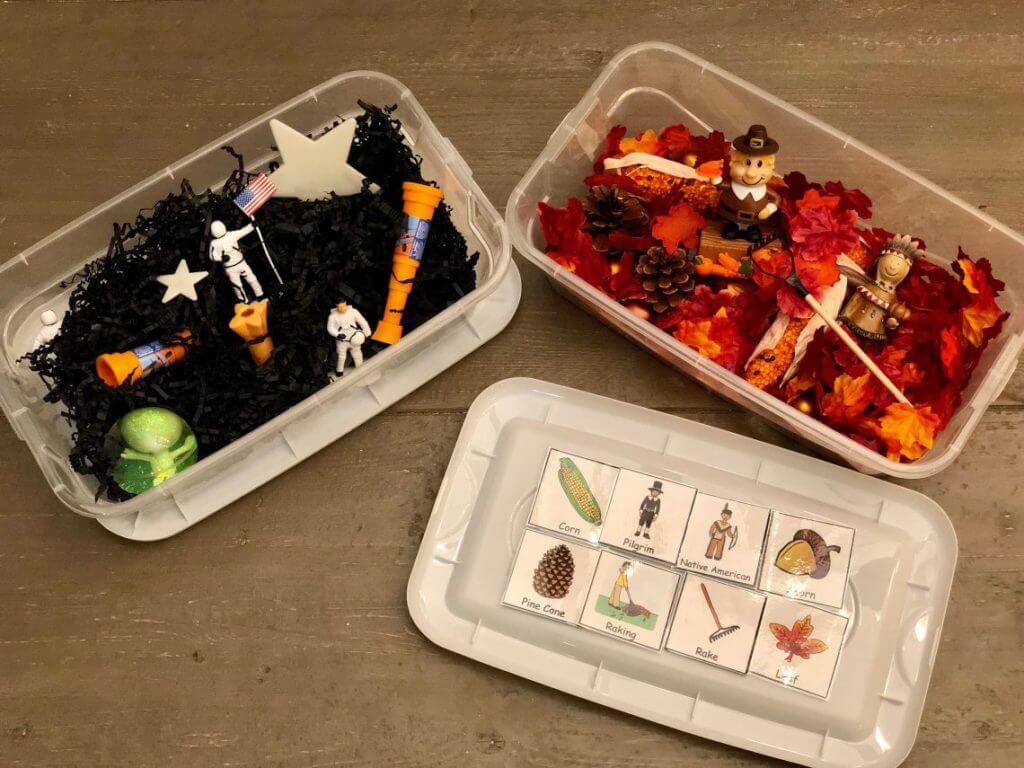
- Choose a box for your items. I typically use shoebox sized clear boxes from the dollar store. Themed containers, such as a jack-o-lantern bucket during Halloween or stockings at Christmas, work well too. I love the clear boxes because my students are excited to see that the sensory box has changed even before we open it together.
- Choose a filler. Some examples include:
- Leaves for fall unit
- Cotton balls to represent snow for winter unit
- Black crinkle paper for outer space unit
- Garland for Christmas unit
- Dried kidney beans to represent dirt for gardening unit
- Select your core vocabulary for the unit and place 5-10 real or toy objects from your vocabulary list into your box. Understandably, some units may have fewer objects than others. Christmas boxes can be thrown together in a quick trip to the dollar store, while it took weeks to find toy astronauts for my outer space box. Don’t pressure yourself to find everything the first time you implement a themed box. My sensory boxes are always evolving. Your students will love to dig through each box to discover their vocabulary words no matter how many you objects you choose to include.
- If you use picture cards to visually reinforce your vocabulary, you can attach Velcro to the bottom of the box lid and to the backs of your cards. Place the picture cards along the Velcro on the underside of the lid so that your visuals are ready to reinforce your objects.
- Enjoy! Target receptively and expressively labeling vocabulary, answering questions, following directions, retelling stories, and so many other language goals using your box.
The Results:
Sensory boxes give students an opportunity to physically interact with vocabulary terms that they see on paper, but may have never experienced otherwise. Most of my students were finally able to identify our friend the pilgrim after holding him, raking leaves with him, and acting out stories with him. Both progress towards IEP goals and engagement during therapy have improved significantly for my students after utilizing sensory boxes regularly. I hope you see similar results with your caseload!
Author: Lauren King, SLP